
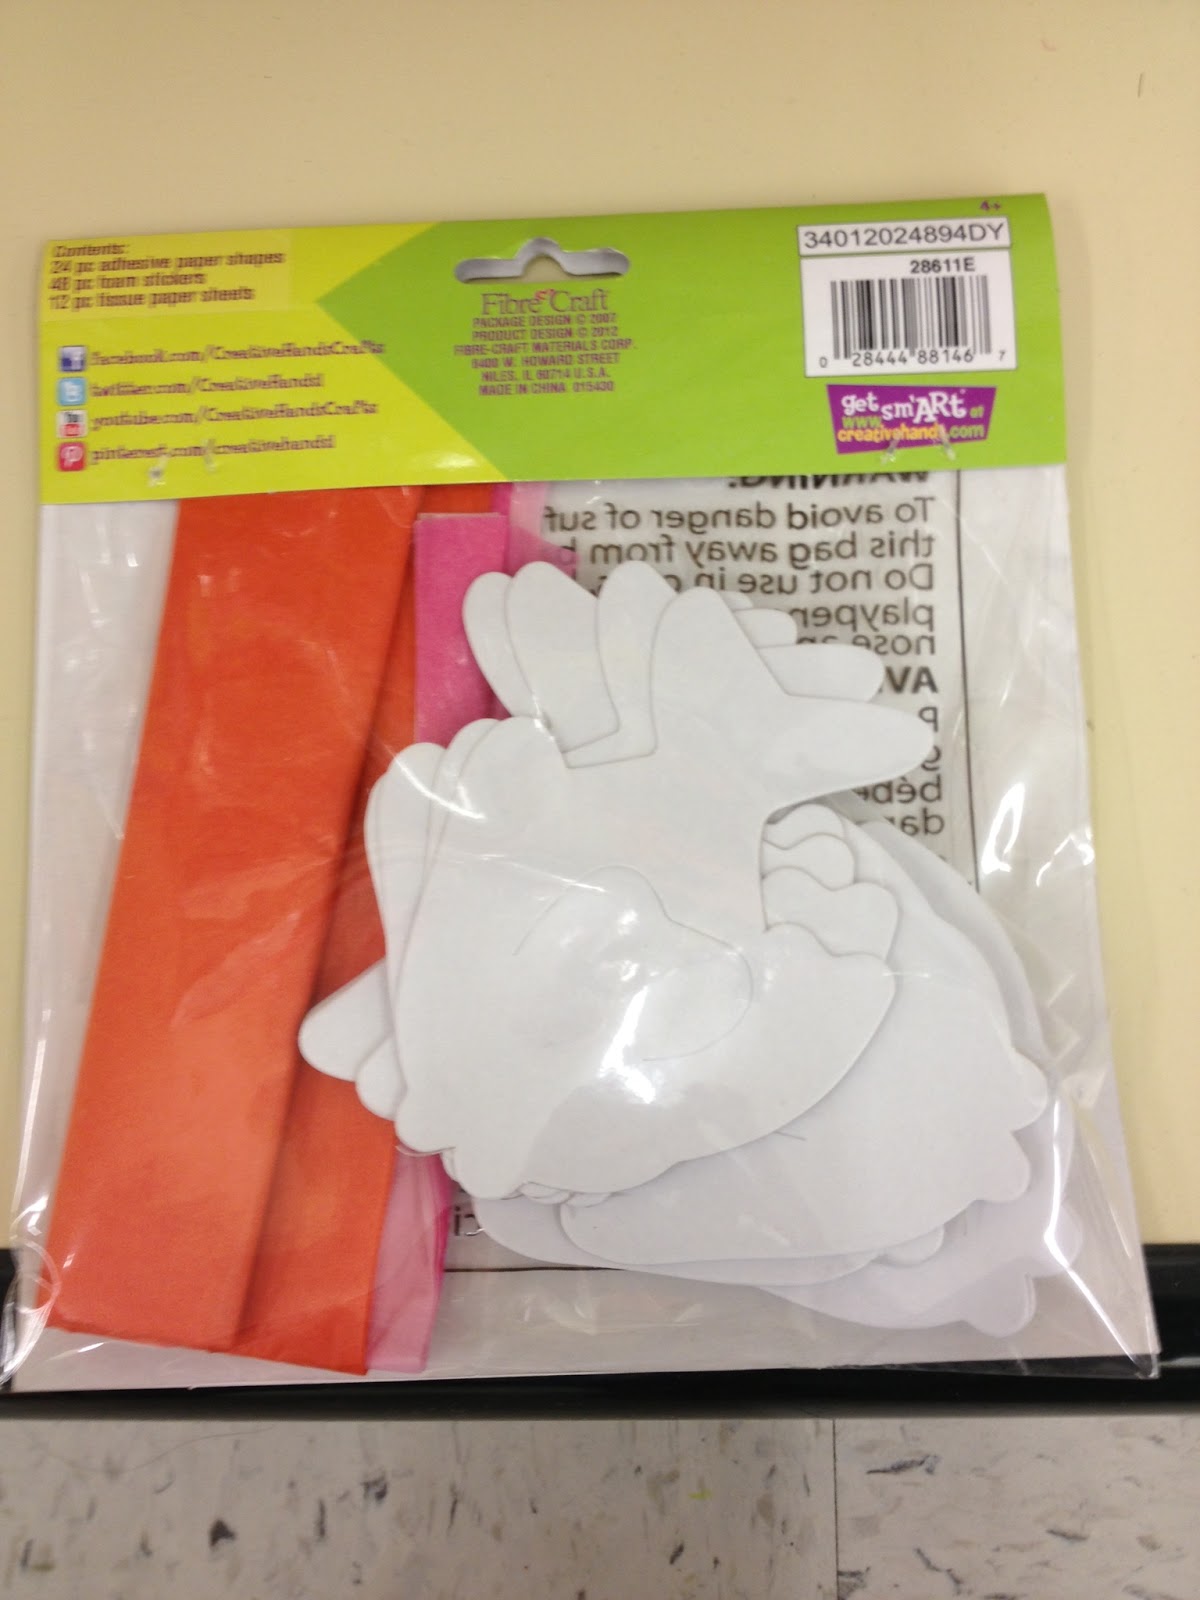
Activity 1 - Hand Puppets
 I thought of this idea, Googled it, and found tons of puppets. The snake and the lion were my own version, but I found the giraffe at CRAFT JR. We decided to pick animal puppets that would all have similar colors to save money and so hopefully everyone could do the puppet they wanted. The puppets we came up with were a lion, giraffe, and a snake. They all turned out very cute, but the giraffe and snake were MUCH more child friendly. Although I liked the lion, we are definitely not going to be doing it now. The only way to put it together was to hot glue it.
The other puppets turned out great and I believe any child could do them. First, I bought all the socks I needed. Then, my hubby and I dyed them yellow. Honestly, I ended up doing more watching than helping. Once we finished them, we started piecing them together. One thing you may want to do for younger kids is go ahead and mark the socks for where they will glue the eyes or any other pieces. Be prepared that when they are done, you will need to go back with a glue gun for pieces that didn't stick well. Another trick is I cut up cardboard and stuck it inside the socks. This way it makes the sock more flat and easier to color with markers or to paint.


Activity 2 - Jungle Visors
I saw these on Oriental Trading and got them as a quick craft. I purposefully put too much glue because that's what most kids do, right? They turned out great. I did have to go back and add a little hot glue to the ears, but they were easy to put together. My favorite thing about this little craft is the kits come packaged for each kid. That way, I don't have to hand out or count out pieces. There are also instructions, so if the kids are a little older or if you need them, you can use them to help.


Actvity 3 - Monkey Frame
This was another Oriental Trading quick craft that I grabbed. This one was a little complex, but now that I've done the sample for camp, I think we can avoid any issues. One thing that was complicated is the arms, hands, and ears don't exactly look like arms, hands and ears. However, I took a picture so you won't have that problem. Depending on the age of your kids, you may also want to go ahead and punch out all the pieces. This craft had A LOT of smaller pieces, so be prepared. It really is adorable and definitely will work, I just realized as I was making it that I would need to prep it a little more.


Activity 4 - Bean Bag Frog

We are also planning on painting bird houses and making tissue paper fish. My friend grabbed the tissue paper fish at Hobby Lobby today and they are cute!

My Activity
 Now, for my little activity. So, I saw a picture on Pinterest last year of a keyboard that had a lot of different colors. I had no clue how they did it, but I loved how it looked. It was pretty incredible. Well, you remember at the beginning of the summer I got tons of Washi tape. I know you can find it on ETSY, but if you are like me, when you are first testing a new product you want to see it in person. I found all of this Washi tape at Michaels. Some of it was also Slam Book tape which was neat because it had multiple types of tape on the roll.

Anyway, I know that's a lot of writing about a little keyboard fun, but here's the end product! I am in love! Next up, my light switch and a notebook.
Have a great night!

Shut the front door! Nooooo you did not!!!!! That is incredible. I just got some at Micheals today. I have wanted to do my power cord! Didn't like th pattern for my cords, but found a few other things to decorate. Now, I must do my keyboard!!!!!!!
ReplyDeleteFabulous Fifth Grade Fun
Your keyboard looks so cute! I cannot wait to have the time...or the need to procrastinate (that is what I do best) to do it to mine! :o)
ReplyDeleteTara
TeachingwithTWitte
Love your keyboard! I just got my mac so maybe I should wait a while until covering the keys since I'm still learning. Love the washi type with many colors too.
ReplyDeleteJessica
Literacy Spark
OH MY! I love this keyboard. I saw this on Pinterest a while back but hmmmm, wonder if I could pull this off. Not sure I am coordinated enough to actually cut all the pieces the correct size. But it sure is pretty.
ReplyDeleteCindi
Diary of a Grateful Teacher
Faith,
ReplyDeleteYou keyboard looks amazing!!! I can't stop admiring it!! I am totally going to be getting some more washi tape now so I can do that!!
Molly
Lessons with Laughter
OMG! I think your keyboard pic is about to go viral! It is so gorgeous! Now I want to do that! How cute would that be in my classroom on top of my hot pink glass desk? Totally pinning this! Great Job!!! P.S. The campers will love those activities you picked out! Cynthia @ FirstandSecondLoopTroop
ReplyDeleteSo glad you posted this! I saw it on pinterest on a white keyboard and didn't think it would look good on a Mac. Well you proved that it definitely does look fabulous! I will absolutely be making this in the near future!
ReplyDeleteThe Polished Teacher
You have some great ideas:) I am your newest follower.
ReplyDeletePrimary Classrooms are Oceans of Fun